|
Interior:
Preparations
This page was
last updated on 11 February 2002.
Click here
to see photos of the interior when the boat was purchased, and to view the
interior projects planned.
|
|
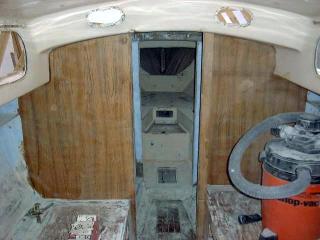 After
removing the galley, icebox, and engine box area, the next step was to begin the
sanding, stripping, and cleaning that is necessary before beginning to paint,
reconfigure and rebuild cabinetry, and refinish surfaces. This was a
process that took place over a series of weeks, with the ultimate goal of having
all the grinding and dirty work out of the way fairly early on so that I could
concentrate on rebuilding. After
removing the galley, icebox, and engine box area, the next step was to begin the
sanding, stripping, and cleaning that is necessary before beginning to paint,
reconfigure and rebuild cabinetry, and refinish surfaces. This was a
process that took place over a series of weeks, with the ultimate goal of having
all the grinding and dirty work out of the way fairly early on so that I could
concentrate on rebuilding.
|
|
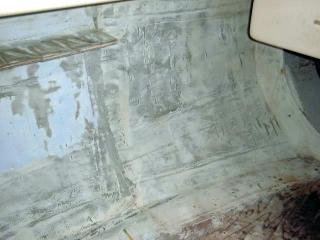 With
a grinder and my powerful right angle sander, I removed all the loose and
deteriorated paint off the inside of the hull throughout the entire boat, but especially in the areas behind the old galley and icebox, where some very sandy, loose paint had been
applied. During the grinding process, I also took care of any remnants of
old tabbing from the galley and other structural members I removed, and cleaned
up any rough areas in the laminate. None of the fiberglass hull will be
visible in the finished interior, but portions will be visible inside various
lockers; I wanted the smoothest surface possible without going too crazy. With
a grinder and my powerful right angle sander, I removed all the loose and
deteriorated paint off the inside of the hull throughout the entire boat, but especially in the areas behind the old galley and icebox, where some very sandy, loose paint had been
applied. During the grinding process, I also took care of any remnants of
old tabbing from the galley and other structural members I removed, and cleaned
up any rough areas in the laminate. None of the fiberglass hull will be
visible in the finished interior, but portions will be visible inside various
lockers; I wanted the smoothest surface possible without going too crazy.
|
|
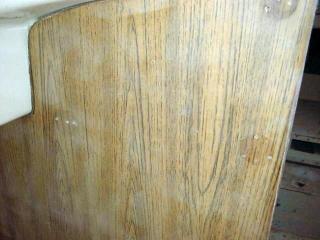 I
at first sanded the disgusting fake teak grain Formica on the bulkheads to
prepare it for other steps in the project; the plan is to cover the bulkhead with
1/4" hardwood plywood (cherry). The bottoms of the settees will be covered
with more of the same thin skin of cherry plywood. However, after spending
some time sanding the Formica, some days later I happened to just pull on a
corner, and before I knew it I had stripped all the Formica out of the boat with
only minimal effort. Removing the Formica will give a better substrate for
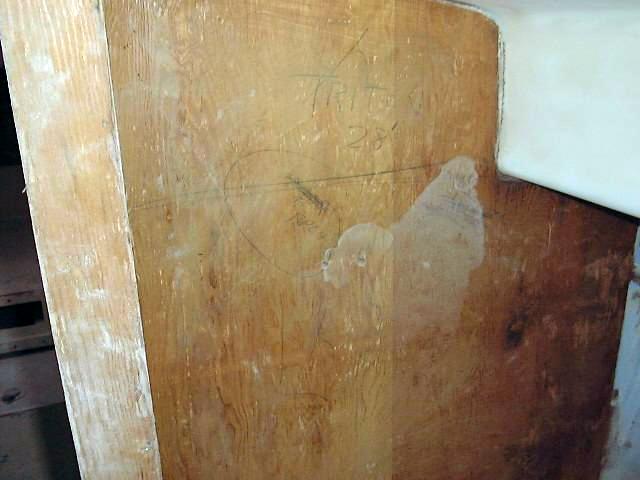
whatever I put over the top. Some rough builders notes were penciled in on
one of the bulkheads. (Click the photo below). I
at first sanded the disgusting fake teak grain Formica on the bulkheads to
prepare it for other steps in the project; the plan is to cover the bulkhead with
1/4" hardwood plywood (cherry). The bottoms of the settees will be covered
with more of the same thin skin of cherry plywood. However, after spending
some time sanding the Formica, some days later I happened to just pull on a
corner, and before I knew it I had stripped all the Formica out of the boat with
only minimal effort. Removing the Formica will give a better substrate for
whatever I put over the top. Some rough builders notes were penciled in on
one of the bulkheads. (Click the photo below).
|
|
|
|
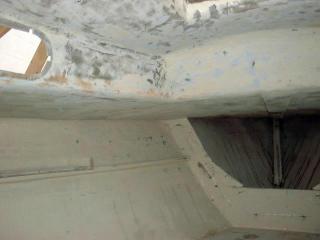 I
also sanded all the paint on the hull and inside of the cabin trunk in the vee berth.
In some areas, this pretty much exposed the laminate beneath; in other areas,
the paint was fairly solidly attached and there was no need to remove it all
completely. As of this writing, we're undecided how to proceed here, but we'd like to cover the rough texture with a liner, which would make the area much more appealing. The plywood v berth will remain as is,
sanded thoroughly and covered with fresh coats of paint. It won't be
seen once the cushions are in. We expect to the berth slightly, filling in the seat area above the water tank, and adding a removable insert in the rest of the V to make a large berth.
The raw opening to the chainlocker will be covered with a hatch to close up the
opening and make the area more attractive. I
also sanded all the paint on the hull and inside of the cabin trunk in the vee berth.
In some areas, this pretty much exposed the laminate beneath; in other areas,
the paint was fairly solidly attached and there was no need to remove it all
completely. As of this writing, we're undecided how to proceed here, but we'd like to cover the rough texture with a liner, which would make the area much more appealing. The plywood v berth will remain as is,
sanded thoroughly and covered with fresh coats of paint. It won't be
seen once the cushions are in. We expect to the berth slightly, filling in the seat area above the water tank, and adding a removable insert in the rest of the V to make a large berth.
The raw opening to the chainlocker will be covered with a hatch to close up the
opening and make the area more attractive.
|
|
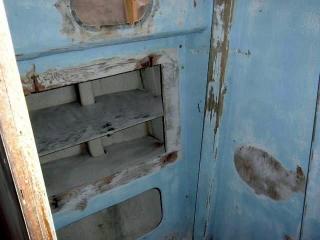 I
removed everything I could in the head and then sanded everything
thoroughly. Covering up that sky blue paint will be a wonderful day. I also removed the two seacocks, as they were unfortunately seized beyond
repair--no amount of struggling would free these things up, and I pretty much
tried it all. I don't think they were ever moved during the previous 37
years the boat had been around. I
removed everything I could in the head and then sanded everything
thoroughly. Covering up that sky blue paint will be a wonderful day. I also removed the two seacocks, as they were unfortunately seized beyond
repair--no amount of struggling would free these things up, and I pretty much
tried it all. I don't think they were ever moved during the previous 37
years the boat had been around.
|
|
I sort of began forward and moved aft gradually--I did not do all the grinding
and such in one fell swoop. As I moved aft, I cut off and removed the old fiberglass through hull tubes in
preparation for replacement with seacocks, and ground the hull in the cockpit
lockers and engine room to make it ready for paint. This was a messy job
that created huge piles of dust, but it had to be done.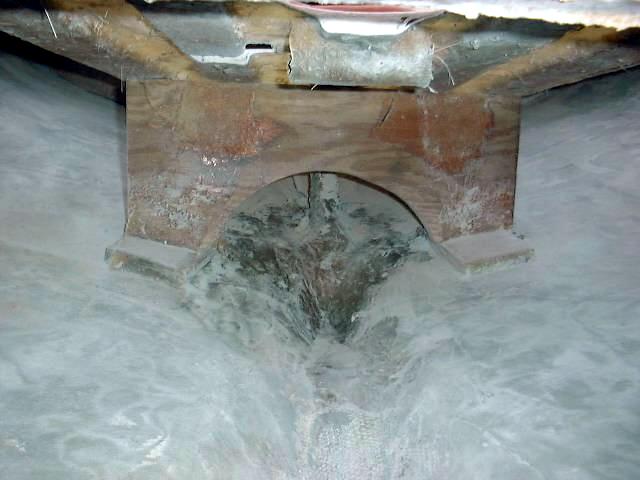 With the engine and fuel tank removed, and all other obstructions out of the way
to the extent possible, I had pretty decent access. The starboard locker
had never been painted inside, but the port locker was covered with nasty white
paint and gobs of spilled resin. I ground this off and got the surface
pretty smooth.
This photo shows the area beneath the cockpit,
looking aft. You can see the freshly ground surfaces, as well as the
plywood support that is helping to hold up the cockpit sole. There is much
work to be done here, including installing a new fuel tank, patching all the
holes that were used for gauges and the like, and installing a new, larger through-deck
access panel. See the cockpit
page for more details on the cockpit structure and repairs.
|
|
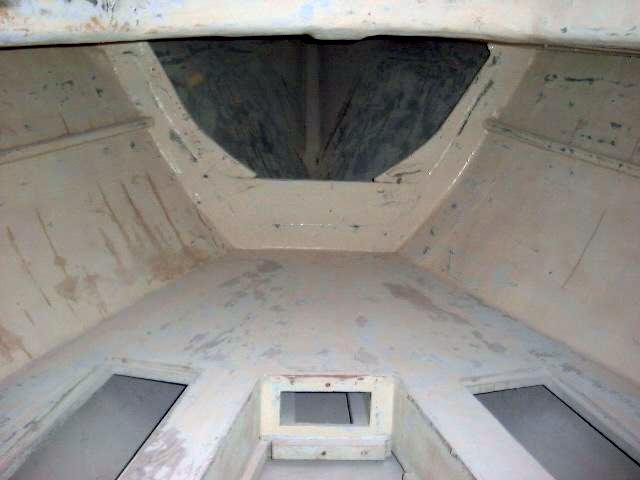 The forward cabin and chain locker have been sanded
thoroughly and are ready for whatever reconfiguration is necessary. The
insides of the lockers need to be sanded and painted, and we're still unsure
about the condition of the water tank. This is a "soon to come"
project so we can decide how to proceed. We plan to fill in most of the
vee, which will create a large area of new storage--much needed. We will
also cut access panels in the forward part of the vee, and install a holding
tank somewhere as well. A laminated wood beam will be added at the top of
the opening to the chain locker, which will add necessary stiffness to the
foredeck, and then that opening will be covered with a new hatch. More
details will be posted as they become available. The forward cabin and chain locker have been sanded
thoroughly and are ready for whatever reconfiguration is necessary. The
insides of the lockers need to be sanded and painted, and we're still unsure
about the condition of the water tank. This is a "soon to come"
project so we can decide how to proceed. We plan to fill in most of the
vee, which will create a large area of new storage--much needed. We will
also cut access panels in the forward part of the vee, and install a holding
tank somewhere as well. A laminated wood beam will be added at the top of
the opening to the chain locker, which will add necessary stiffness to the
foredeck, and then that opening will be covered with a new hatch. More
details will be posted as they become available.
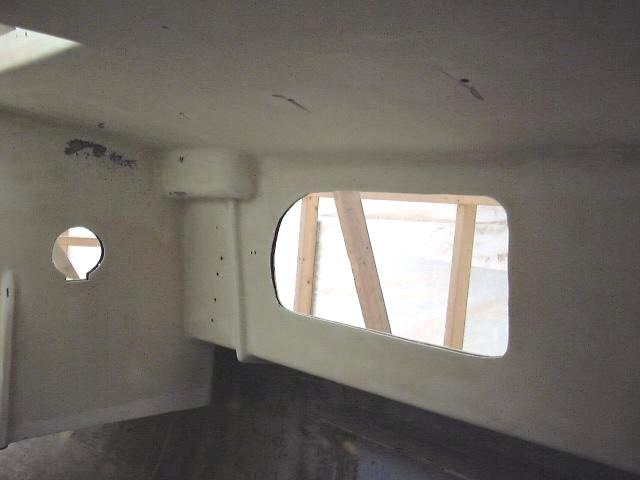
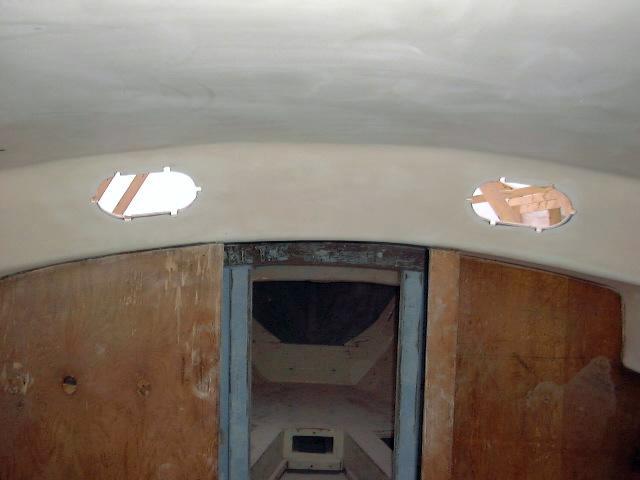
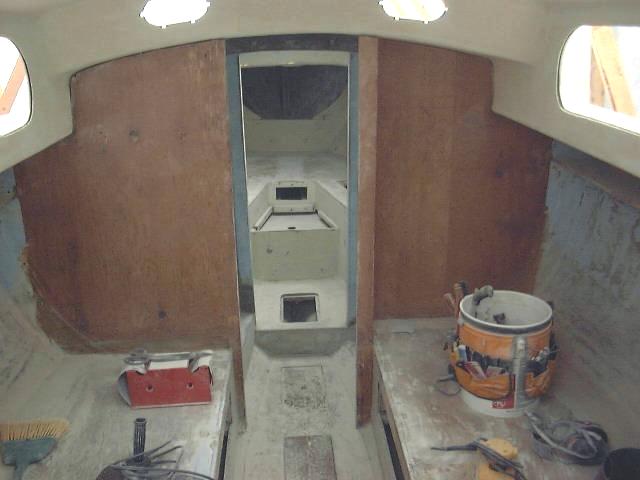
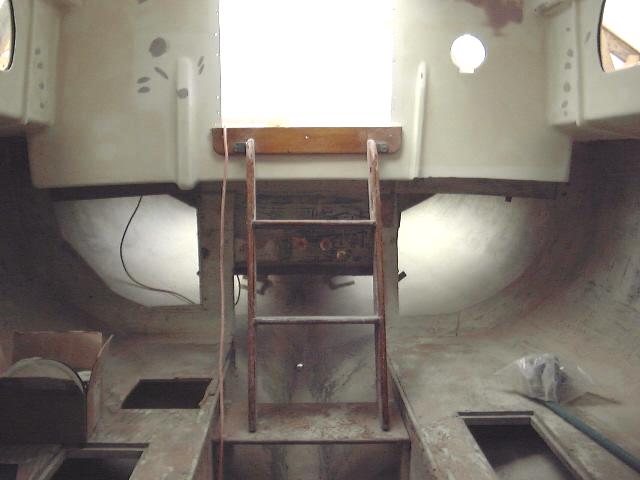
In the small pictures below, you
can see the headliner in the main salon after I sanded it. It is generally
in good condition, but requires minor repairs to fill some cracks and holes, and
will then require repainting. We'll paint it bright white to keep the
interior light and airy, but this job won't happen for a while.
|
|
 |
|
|
|
|
|
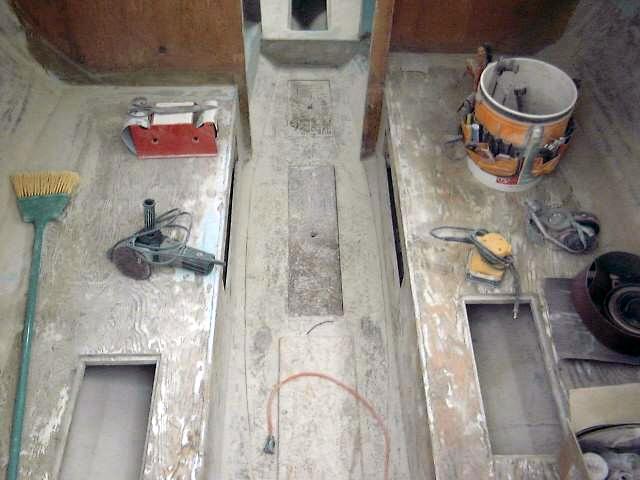 During
the past month of so I have pretty much wrapped up the messy portions of the
interior preparation. I did some more rough sanding to remove paint from
the plywood, and retabbed a couple areas on the bulkheads that needed
repair. The gouges and such in the headliner have been patched and
repaired, and the headliner has been sanded to 120 grit. Work remaining
before moving on to the reconstruction of the cabin includes some very minor
patching (pinholes), sanding the new tabbing installed, and completion of the
sanding inside the lockers, to remove the old paint. This work will be
completed within the next week, and I will be doing a THOROUGH cleaning shortly
thereafter. I will then be getting some paint on may of the surfaces,
especially the bilge, beneath the cockpit, and inside all the lockers that may become
harder to access later in the process as I install new cabinetry, etc. The
new paint will also make for easier cleaning during the rest of the project. During
the past month of so I have pretty much wrapped up the messy portions of the
interior preparation. I did some more rough sanding to remove paint from
the plywood, and retabbed a couple areas on the bulkheads that needed
repair. The gouges and such in the headliner have been patched and
repaired, and the headliner has been sanded to 120 grit. Work remaining
before moving on to the reconstruction of the cabin includes some very minor
patching (pinholes), sanding the new tabbing installed, and completion of the
sanding inside the lockers, to remove the old paint. This work will be
completed within the next week, and I will be doing a THOROUGH cleaning shortly
thereafter. I will then be getting some paint on may of the surfaces,
especially the bilge, beneath the cockpit, and inside all the lockers that may become
harder to access later in the process as I install new cabinetry, etc. The
new paint will also make for easier cleaning during the rest of the project.
|
|
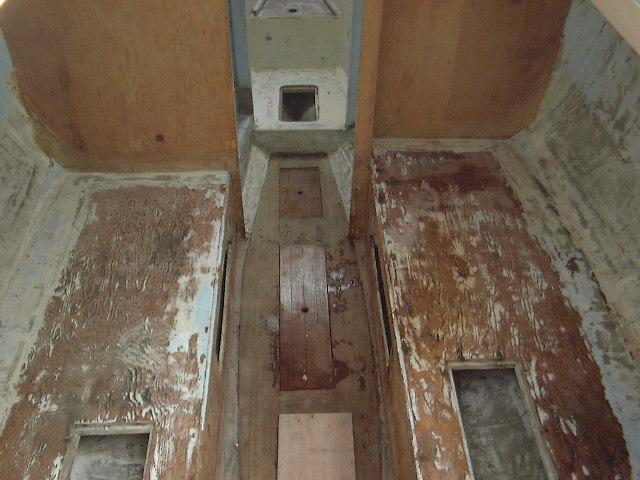 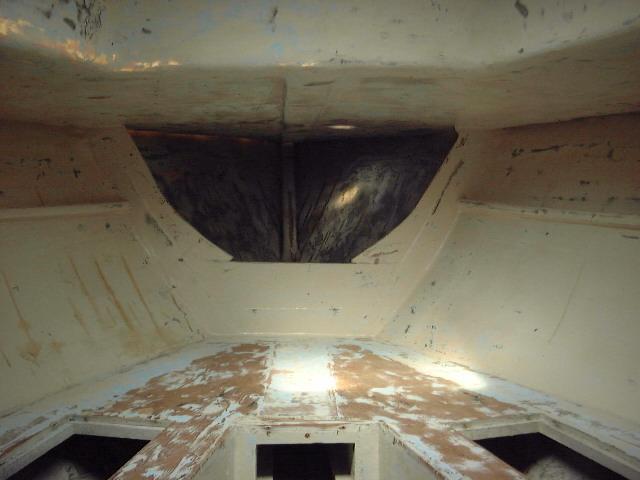 3 May,
2000: With all the major grinding and sanding (both inside
and out) finally complete, I cleaned the inside of the boat thoroughly to get
rid of all the dust and debris. I had been waiting for this for a long
time, and it was liberating to scrub everything down. I washed every surface,
inside and out, with a strong solution of Simple Green and water, and rinsed
thoroughly. I will wait some time for the boat to dry out, and will then
be applying paint to some of the areas that will shortly become inaccessible as
I work on new interior components. 3 May,
2000: With all the major grinding and sanding (both inside
and out) finally complete, I cleaned the inside of the boat thoroughly to get
rid of all the dust and debris. I had been waiting for this for a long
time, and it was liberating to scrub everything down. I washed every surface,
inside and out, with a strong solution of Simple Green and water, and rinsed
thoroughly. I will wait some time for the boat to dry out, and will then
be applying paint to some of the areas that will shortly become inaccessible as
I work on new interior components.
|
|
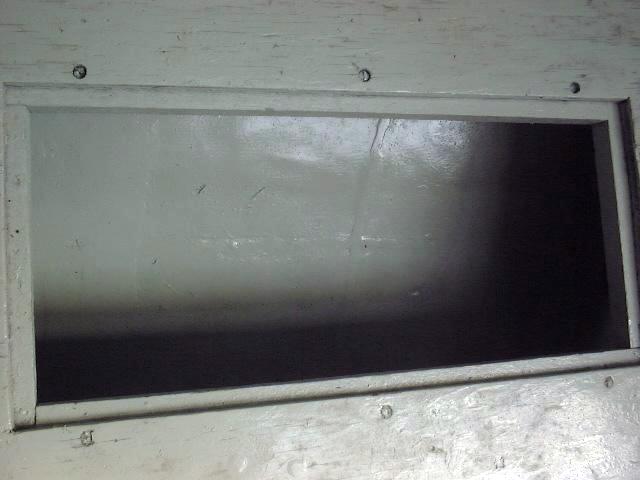 A few days after washing, I began
painting out the bilges, insides of lockers, and parts of the interior,
including the settees and vee berth. I used Interlux Bilgekote, a
light gray paint specially formulated for this use. None of the painted
surfaces will be visible in the completed boat, but I wanted everything painted
nicely, which will make the boat easier to keep clean in the future.
There's nothing worse than dank, stinky, moldy lockers; the fresh paint will
keep everything nice. A few days after washing, I began
painting out the bilges, insides of lockers, and parts of the interior,
including the settees and vee berth. I used Interlux Bilgekote, a
light gray paint specially formulated for this use. None of the painted
surfaces will be visible in the completed boat, but I wanted everything painted
nicely, which will make the boat easier to keep clean in the future.
There's nothing worse than dank, stinky, moldy lockers; the fresh paint will
keep everything nice.
The plywood settees really soaked
up the paint: The first coat went on like a stain, and the second coat
wasn't much better. The third coat should take care of it, though.
I'm waiting on this one until some of the heavy work is done, like installing
the engine. No reason to scar up the new paint.
|
|
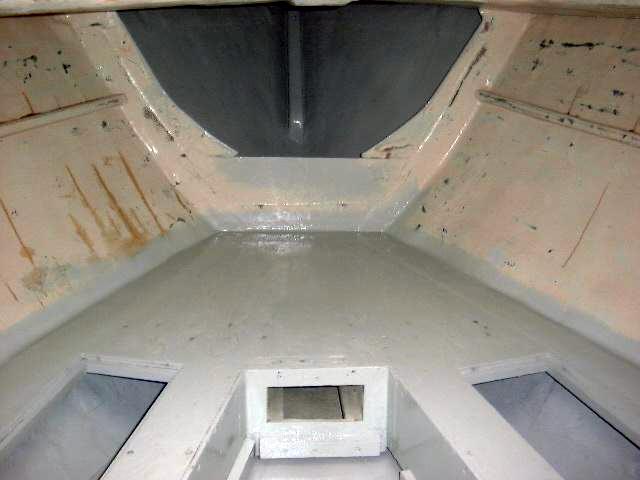 I
also painted the inside of the chain locker and the hull inside the two cockpit
lockers and beneath the cockpit. What a difference! It took two
coats. I left the engine room bare for the moment, until the engine
foundation is installed and fiberglassed; then I will paint that area out. I
also painted the inside of the chain locker and the hull inside the two cockpit
lockers and beneath the cockpit. What a difference! It took two
coats. I left the engine room bare for the moment, until the engine
foundation is installed and fiberglassed; then I will paint that area out.
Areas in the photos that have not
yet been painted will be, but I am taking it one step at a time and
worrying about the soon-to-be inaccessible areas first.
|
|
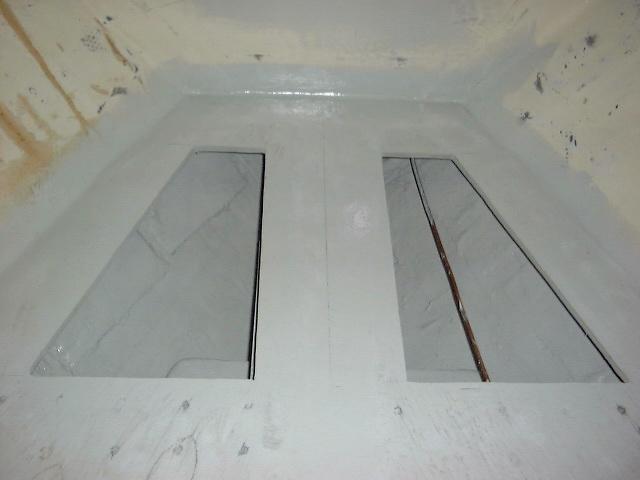 As
time went on, I continued painting, working first on those areas inside lockers
where access would be difficult later and eventually moving out onto the inside
of the hull and the tops and sides of the plywood structures. I cut two new access hatches in the vee berth, at the
forward end, so I can now use that area for storage if need be. After
cutting, I sanded the inside of the hull, cleaned with acetone, and painted
these areas like the rest of the lockers on board. As
time went on, I continued painting, working first on those areas inside lockers
where access would be difficult later and eventually moving out onto the inside
of the hull and the tops and sides of the plywood structures. I cut two new access hatches in the vee berth, at the
forward end, so I can now use that area for storage if need be. After
cutting, I sanded the inside of the hull, cleaned with acetone, and painted
these areas like the rest of the lockers on board.
Remaining projects on the
interior include final painting of the settees and inside of hull (where
needed), installation of a wooden ceiling (strips of wood covering the inside of
hull) in the main salon behind where the new backrest lockers will be,
installation of foam insulation to prevent sweating, and construction of the new
galley and icebox. I will also be installing the backrests, wood bulkhead
covering, and Formica on the other surfaces.
|
|
|
Please click here to continue
the project.
|
|